
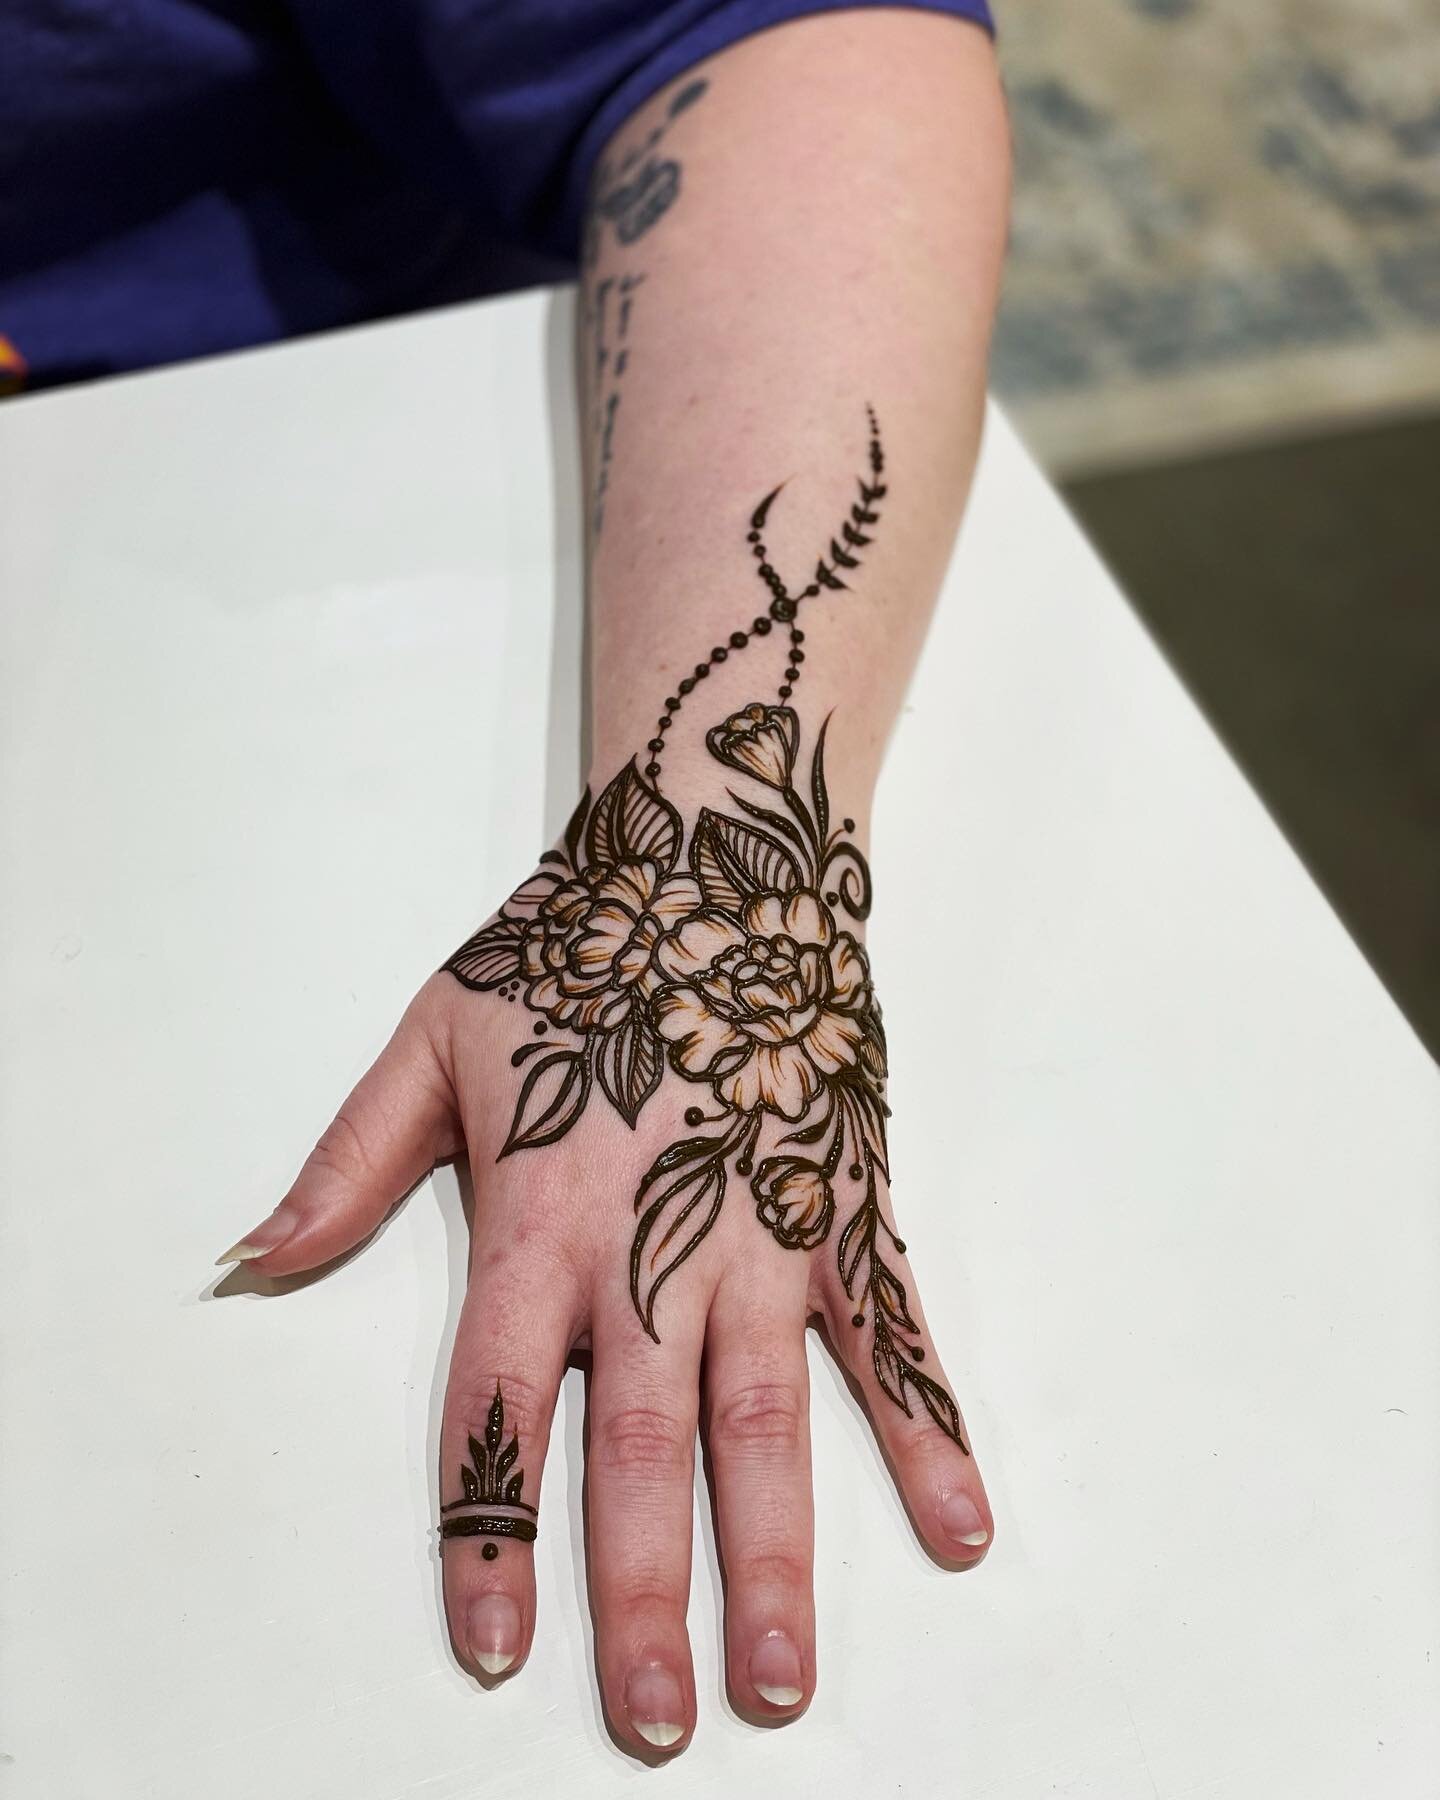
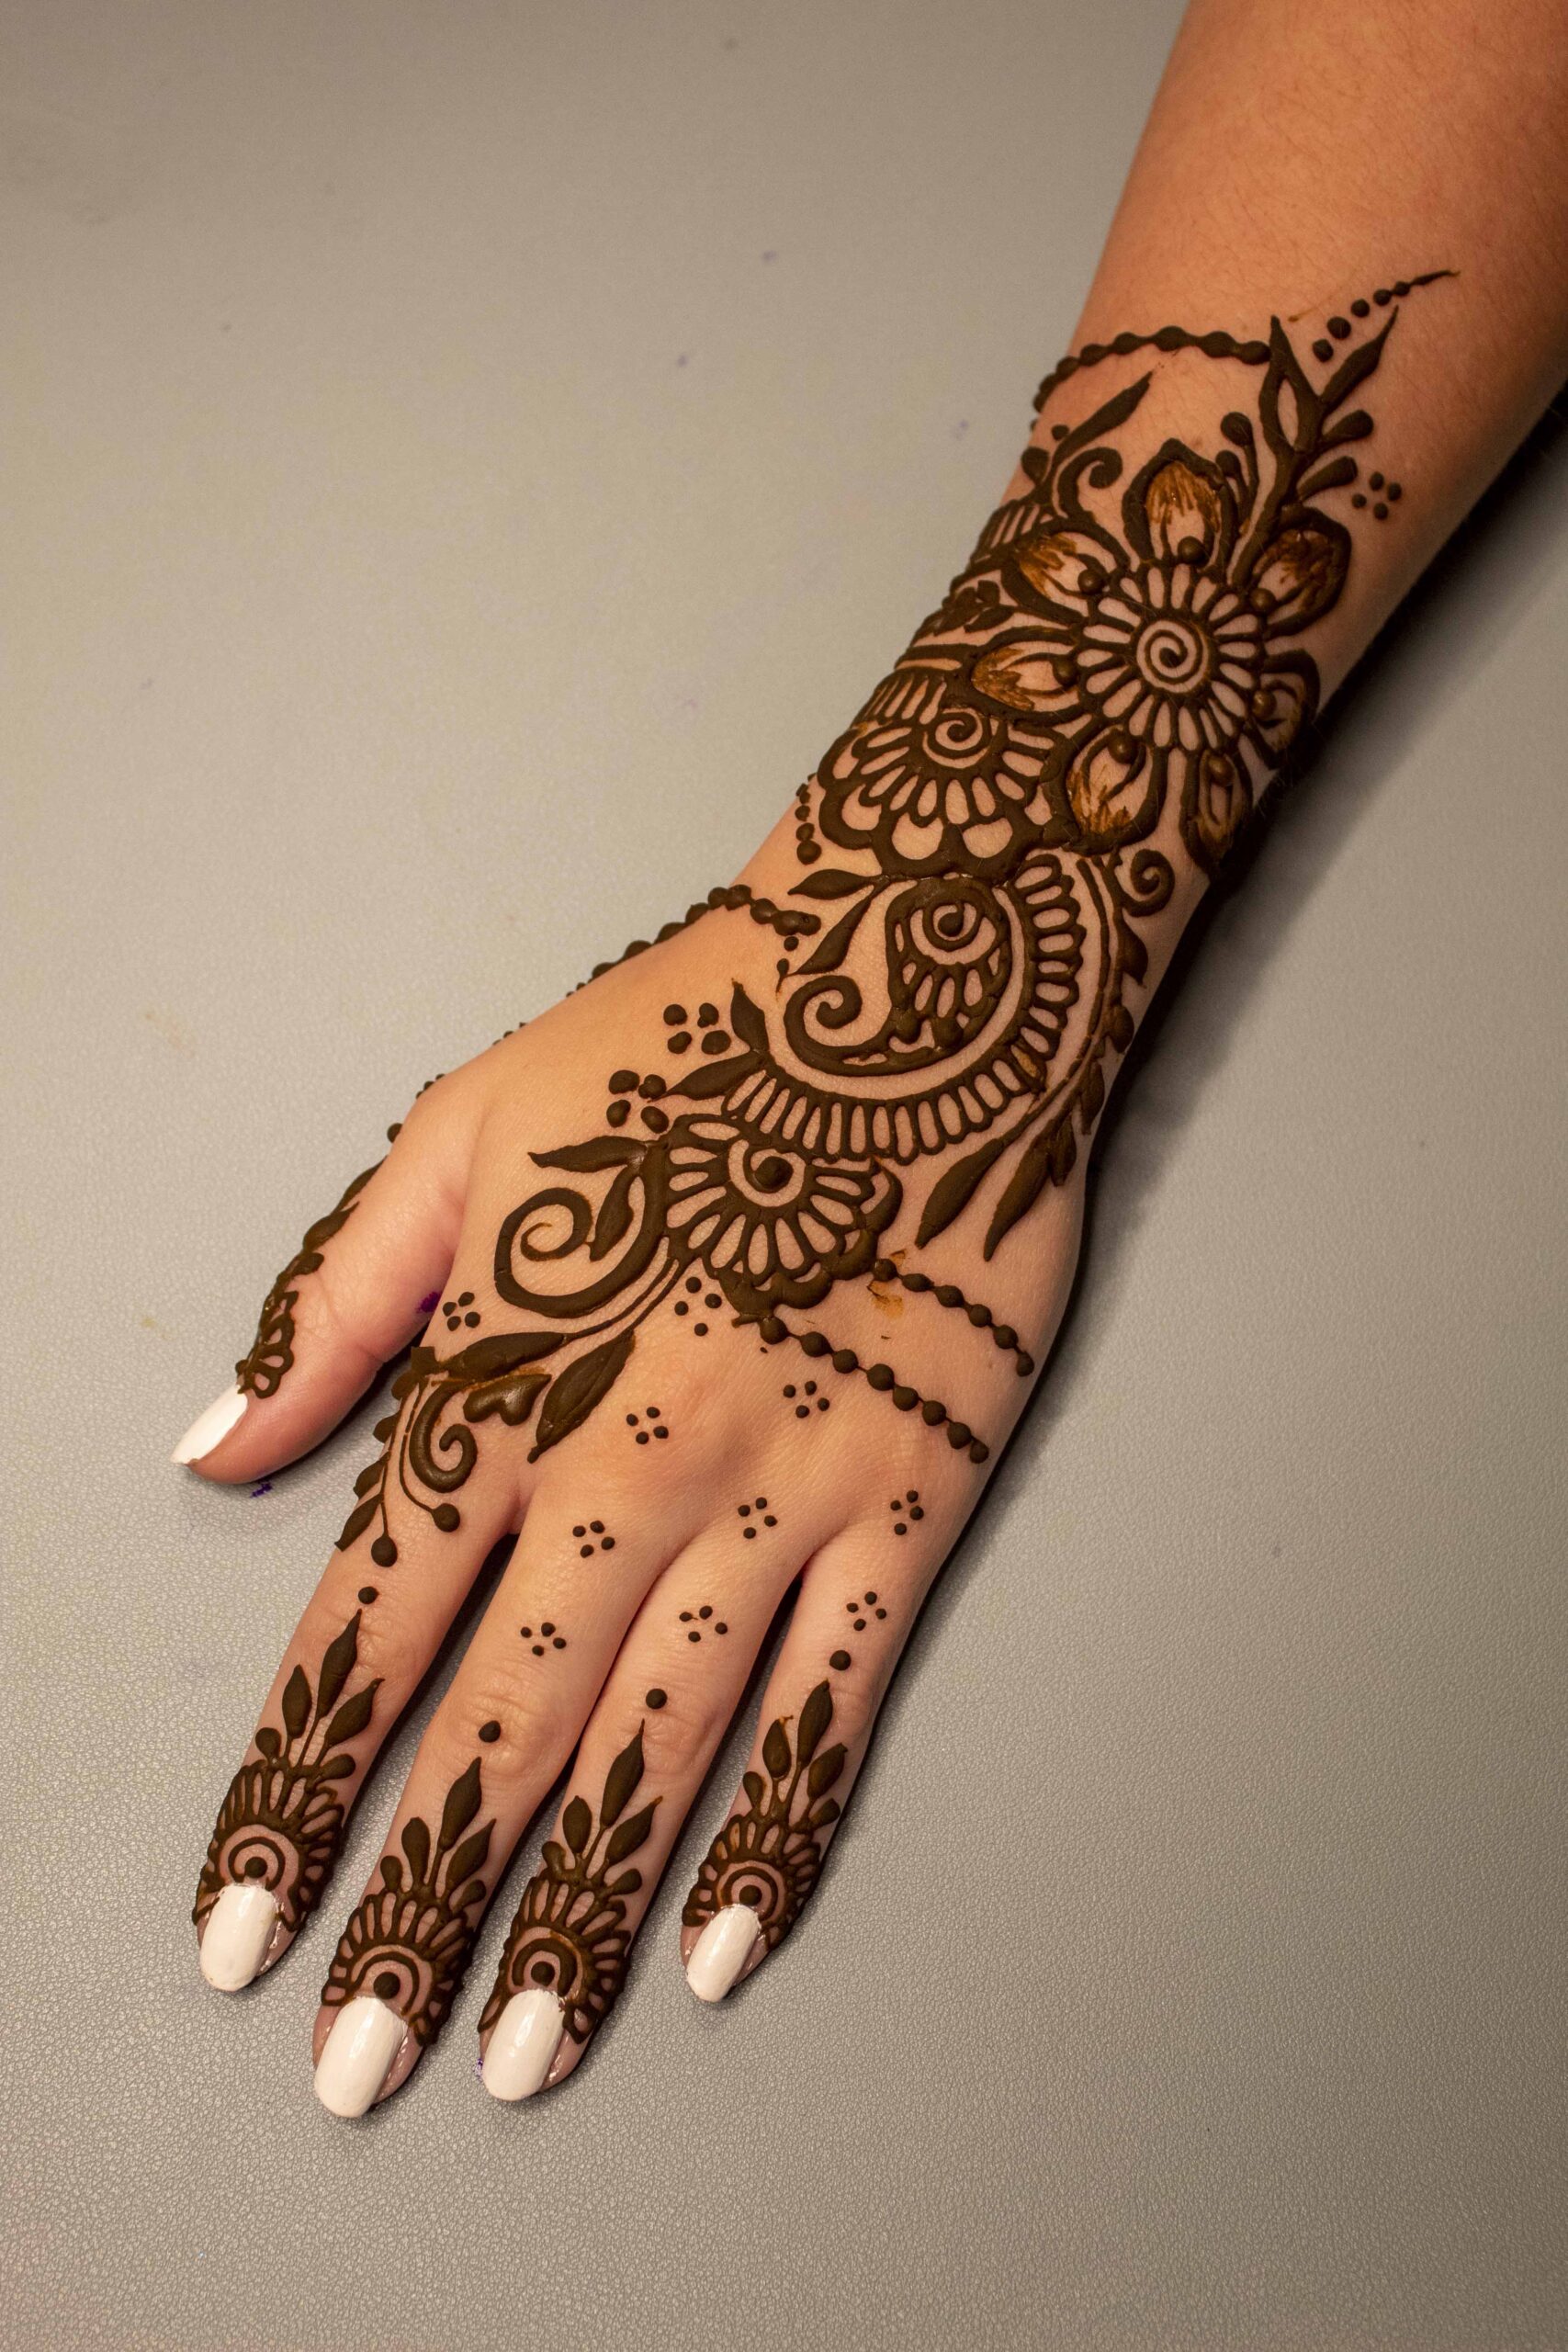
How Long Does It Take Henna To Dry? Unlock The Secrets Of Stunning Henna Art
So here's the deal, henna is one of those things that’s been around for centuries, and yet it still feels super fresh and modern. If you’ve ever thought about getting a henna tattoo or even doing it yourself, one of the biggest questions on your mind is probably, "how long does it take henna to dry?" Let’s face it, no one wants to sit there with shaky hands trying not to smudge their design, right? Stick with me as we dive into the nitty-gritty of henna drying times, tips, and tricks that’ll make your experience smooth sailing.
Now, before we get all technical, let’s talk about why this matters so much. Henna isn’t just about slapping some paste on your skin and calling it a day. It’s an art form that requires patience, precision, and yes, a little bit of waiting. Understanding how long henna takes to dry can mean the difference between a masterpiece and a smudgy mess. So, grab your favorite drink, and let’s break it down step by step.
By the time you finish reading this article, you’ll be armed with all the knowledge you need to create stunning henna designs without any stress. Whether you’re a beginner or a pro, there’s always something new to learn. Let’s go!
- Over The Rainbow Cakes A Sweet Journey Through Flavor And Color
- Turrell Sky Garden The Ultimate Urban Oasis You Need To Explore
Table of Contents
- How Long Does It Take Henna to Dry?
- Factors That Affect Henna Drying Time
- Tips for Applying Henna
- Understanding the Drying Process
- Storing Henna Paste
- Caring for Your Henna Design
- Frequently Asked Questions
- A Brief History of Henna
- Essential Tools for Henna Art
- Wrapping It Up
How Long Does It Take Henna to Dry?
Alright, let’s cut to the chase. If you’re wondering how long henna takes to dry, the short answer is anywhere from 20 minutes to an hour. But here’s the thing—it’s not just about drying. The paste needs to settle, and the longer it stays on your skin, the darker and more vibrant the stain will be. So, while the initial drying phase might take about half an hour, the whole process can take a few hours if you want that deep, rich color.
Pro tip: Don’t rush the drying process. Patience is key when it comes to henna. Trust me, your design will thank you for it later.
Factors That Affect Henna Drying Time
There’s more to henna drying than just time. Several factors can influence how long it takes for the paste to dry and leave that perfect stain. Here are a few things to keep in mind:
- Vignette Wine Soda The Trendy Sparkling Beverage Taking Over
- Madelyn Rusinyak Onlyfans Leak The Inside Scoop You Need To Know
- Temperature: Warm environments help henna dry faster, but don’t overdo it. Too much heat can ruin the paste.
- Humidity: High humidity can slow down the drying process, so try to apply henna in a well-ventilated area.
- Skin Type: Oily skin might take longer to dry compared to dry skin. Adjust accordingly.
- Paste Quality: Fresh, high-quality henna paste will dry faster and give better results.
Understanding these factors can help you plan your henna session more effectively and avoid any unwanted surprises.
Why Temperature Matters
Let’s talk about temperature for a sec. If you’re applying henna in a cold room, chances are it’s gonna take longer to dry. On the flip side, too much heat can cause the paste to crack or peel off prematurely. Aim for a cozy, warm environment, and you’ll be golden.
Tips for Applying Henna
Applying henna might seem intimidating at first, but with the right technique, it’s a breeze. Here are some tips to make your application process smoother:
- Prep Your Skin: Clean and exfoliate the area where you plan to apply henna. This ensures the paste sticks better and leaves a darker stain.
- Use Lemon Sugar Paste: Once the henna is dry, apply a mix of lemon juice and sugar to seal the design. It helps lock in the color.
- Be Gentle: Avoid touching or rubbing the design while it dries. Accidents happen, so be extra careful.
Remember, practice makes perfect. The more you experiment with henna, the better you’ll get at applying it.
Understanding the Drying Process
The drying process of henna is more than just waiting for the paste to harden. It involves several stages that contribute to the final result:
- Initial Drying: This is when the paste starts to lose moisture and form a crust on the surface.
- Setting Phase: After the initial drying, the paste continues to set and bind with your skin.
- Staining: Once the paste is fully dried and removed, the henna leaves behind a beautiful stain that darkens over the next 24-48 hours.
Each stage plays a crucial role in achieving that perfect henna design. Don’t skip any of them, or you might end up with a less-than-stellar result.
What Happens If You Rush the Process?
Rushing the drying process can lead to a lighter stain or even smudging. The paste needs time to settle and react with your skin. If you remove it too early, you might not get the vibrant color you were hoping for.
Storing Henna Paste
Proper storage of henna paste is essential if you want it to last and perform well. Here’s how you can keep your henna fresh:
- Airtight Container: Store the paste in an airtight container to prevent it from drying out.
- Refrigeration: Keep the paste in the fridge to extend its shelf life. Just make sure to bring it to room temperature before using.
- Avoid Direct Sunlight: Sunlight can degrade the quality of henna, so store it in a cool, dark place.
By following these storage tips, you can ensure that your henna paste stays fresh and ready for your next creative endeavor.
Caring for Your Henna Design
Once your henna design is dry and the paste is removed, the real care begins. Here’s how you can make your henna last longer:
- Avoid Water: Keep your design away from water for the first 24 hours to allow the stain to fully develop.
- Moisturize Regularly: Use natural oils like coconut or olive oil to keep your skin hydrated and enhance the stain.
- Protect from Scratching: Avoid activities that might cause your design to rub against surfaces or clothing.
With proper care, your henna design can last anywhere from one to three weeks, depending on the location and your skin type.
Common Mistakes to Avoid
Here are a few common mistakes people make when caring for their henna designs:
- Washing the area too soon
- Using harsh soaps or chemicals
- Peeling off the paste prematurely
Avoid these pitfalls, and your henna will look amazing for days to come.
Frequently Asked Questions
Let’s address some of the most common questions about henna drying times and care:
- Q: Can I speed up the drying process? A: Not really. Rushing the process can compromise the quality of the stain.
- Q: How long should I leave the paste on? A: Ideally, leave it on for 6-8 hours or overnight for the best results.
- Q: Can I apply henna on sensitive skin? A: Yes, but do a patch test first to ensure you’re not allergic.
These FAQs should cover most of your concerns, but feel free to ask more in the comments below!
A Brief History of Henna
Henna has been around for thousands of years, with roots in ancient Egypt, India, and the Middle East. Originally used for body art and hair dyeing, henna has evolved into a global phenomenon, celebrated for its beauty and cultural significance. Understanding its history adds depth to your appreciation of this ancient art form.
Where Did It All Begin?
Historians believe henna was first used in Egypt around 5,000 years ago. From there, it spread across continents, becoming a staple in weddings, festivals, and spiritual ceremonies. Today, henna continues to be a symbol of joy and celebration worldwide.
Essential Tools for Henna Art
Whether you’re a beginner or a seasoned artist, having the right tools makes all the difference. Here’s what you’ll need:
- Henna Cone: For precise application
- Lemon Juice: To mix with sugar for sealing
- Cotton Swabs: For touch-ups and corrections
Investing in quality tools will improve your henna experience and help you create stunning designs.
Wrapping It Up
In conclusion, understanding how long henna takes to dry is crucial for achieving the best results. By following the tips and tricks outlined in this article, you’ll be well on your way to mastering the art of henna. Remember, patience and care are key when it comes to creating beautiful, long-lasting designs.
So, what are you waiting for? Grab your henna cone and start experimenting! And don’t forget to share your creations with us in the comments below. Happy henna-ing!
Article Recommendations
- Reunion Rec Center The Ultimate Gathering Spot For Family And Friends
- Discover The Best Thrift Stores In Goshen Indiana

Detail Author:
- Name : Prof. Jermaine Pfannerstill
- Username : moses.kirlin
- Email : kieran09@gmail.com
- Birthdate : 1981-02-18
- Address : 239 Hermiston Mews Apt. 664 West Elisaland, GA 88381
- Phone : (432) 530-8921
- Company : Kovacek, Cole and Shields
- Job : Tractor Operator
- Bio : Nihil voluptas est quae praesentium impedit soluta. Dolor et et enim laboriosam vero. Et sed aut quos fugiat totam ipsam facilis. Ratione nostrum amet ex quis.
Socials
instagram:
- url : https://instagram.com/junior_dev
- username : junior_dev
- bio : Adipisci doloremque eum ducimus occaecati eos. Doloribus molestiae molestias est corrupti.
- followers : 6370
- following : 2947
tiktok:
- url : https://tiktok.com/@junior5743
- username : junior5743
- bio : Qui quos laborum doloremque dolorem. Qui maiores id veniam quia aspernatur.
- followers : 5771
- following : 2782
linkedin:
- url : https://linkedin.com/in/murphyj
- username : murphyj
- bio : Eum qui a blanditiis earum aut nemo saepe.
- followers : 1913
- following : 1868
twitter:
- url : https://twitter.com/juniormurphy
- username : juniormurphy
- bio : Itaque aut sit dolorum quis corrupti. Reiciendis corrupti occaecati voluptas architecto sit accusamus. Qui quod voluptas ratione qui.
- followers : 322
- following : 1621
